

Account Switcher
If you belong to multiple accounts (for example, a Buyer account and a Seller account), use the account selector in the top-right corner to move between them. It also appears when you have a pending account invitation. A standalone account with no invitation or other account to reach does not show a redundant selector.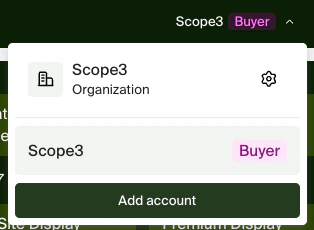
Buyer Homepage
After logging in as a Buyer, you’ll see the buyer homepage with quick-access cards for campaigns, advertisers, API keys, and member management.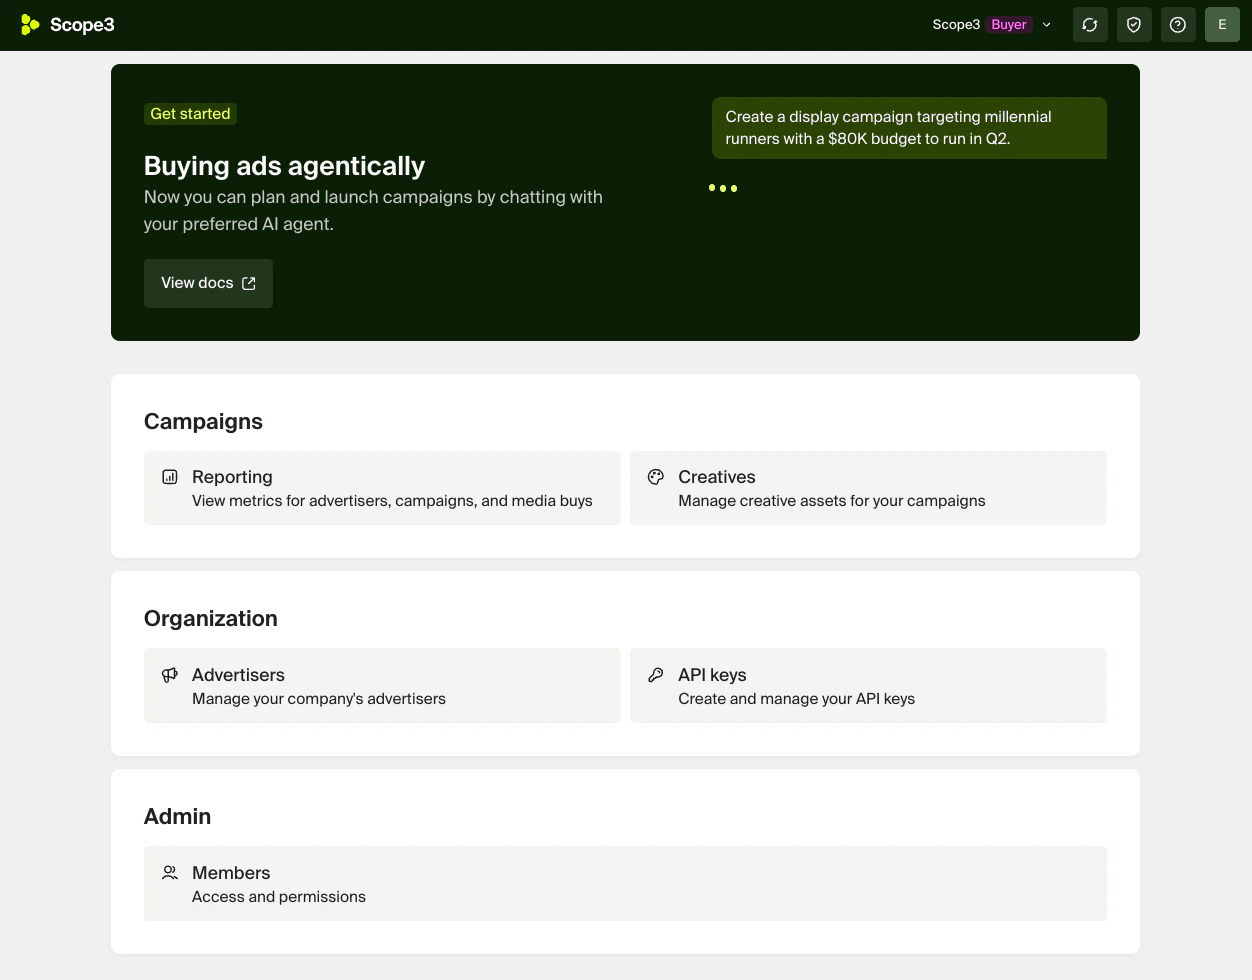
- Get started with documentation and quickstart guides
- View reporting for campaigns and media buys
- Manage creatives for your campaigns
- Manage advertisers for your organization
- Manage API keys for your integrations
- Manage members and permissions
Seller Homepage
After logging in as a Seller, you’ll see the seller homepage with quick-access cards for your storefront, campaigns, API keys, and member management.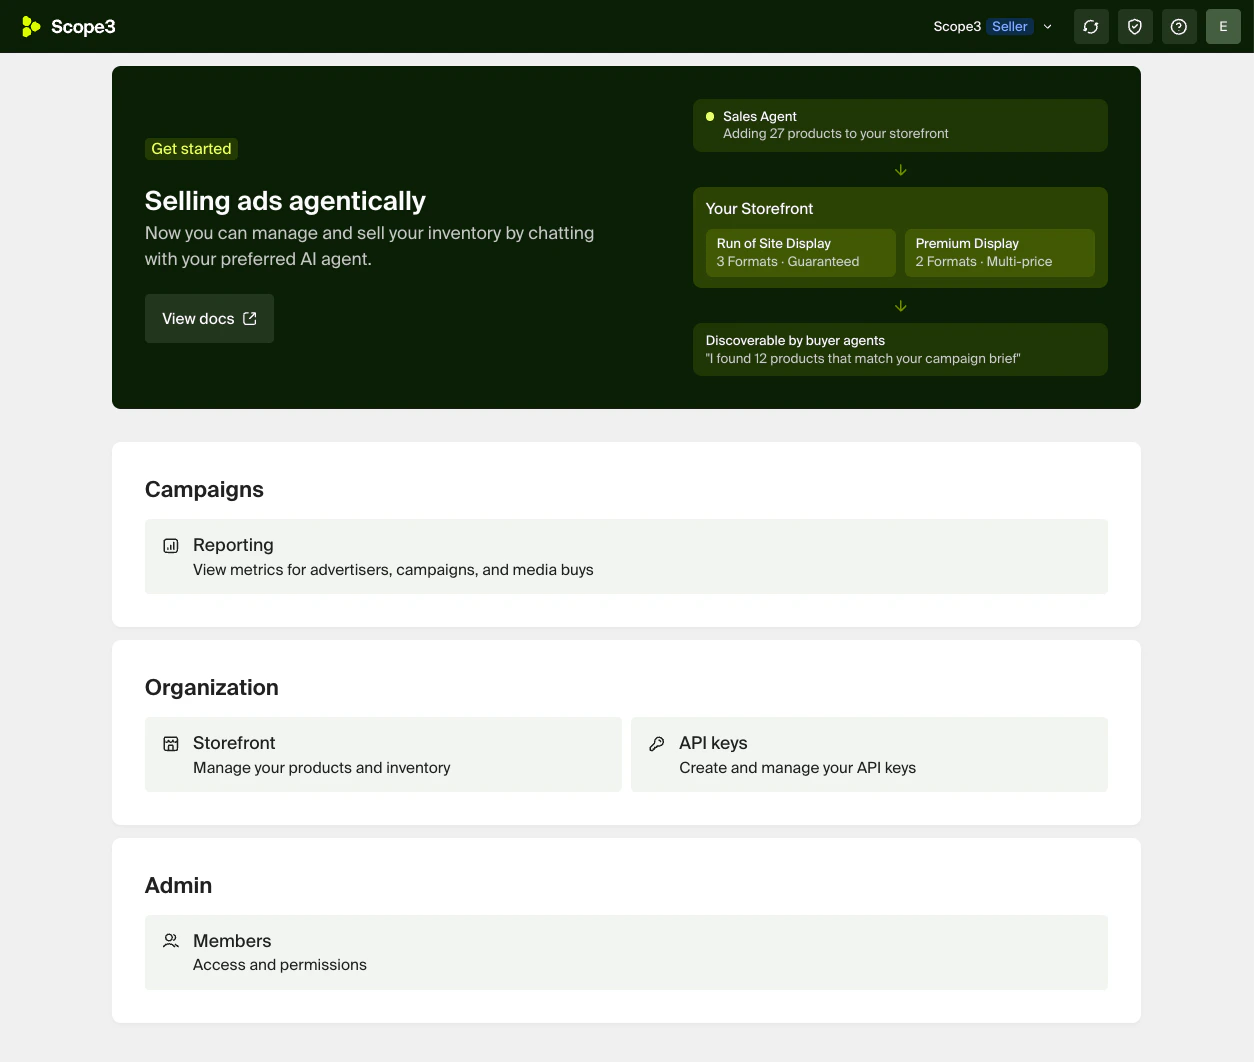
- Get started with documentation and quickstart guides
- View your storefront and manage products and inventory
- View reporting for campaigns and media buys
- Manage API keys for your integrations
- Manage members and permissions
API Keys
Click Manage API keys from the dashboard to view your existing keys.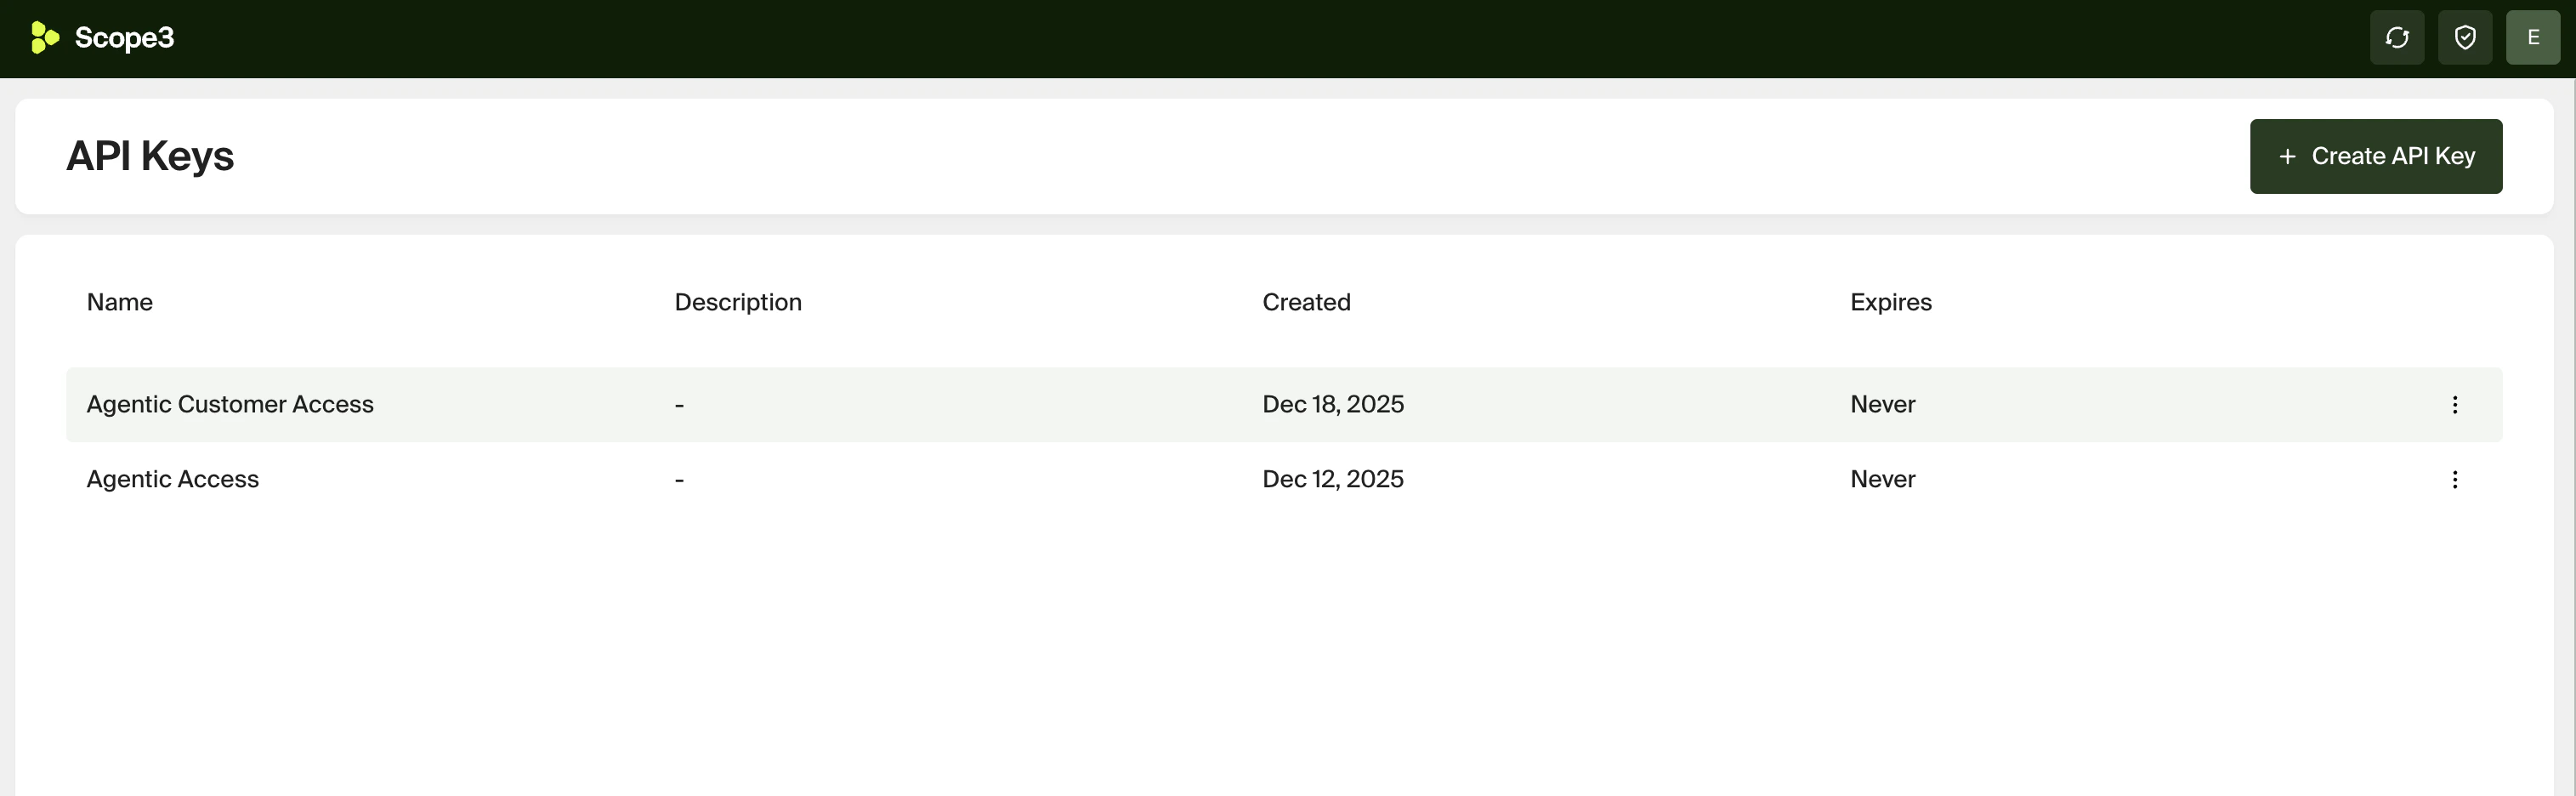
interchange:read, interchange:write, or
interchange:admin access level can narrow what the integration may do. Account
administrators also see existing account-owned and legacy keys in separate migration
sections.
Creating an API Key
Click + Create API Key to open the creation form.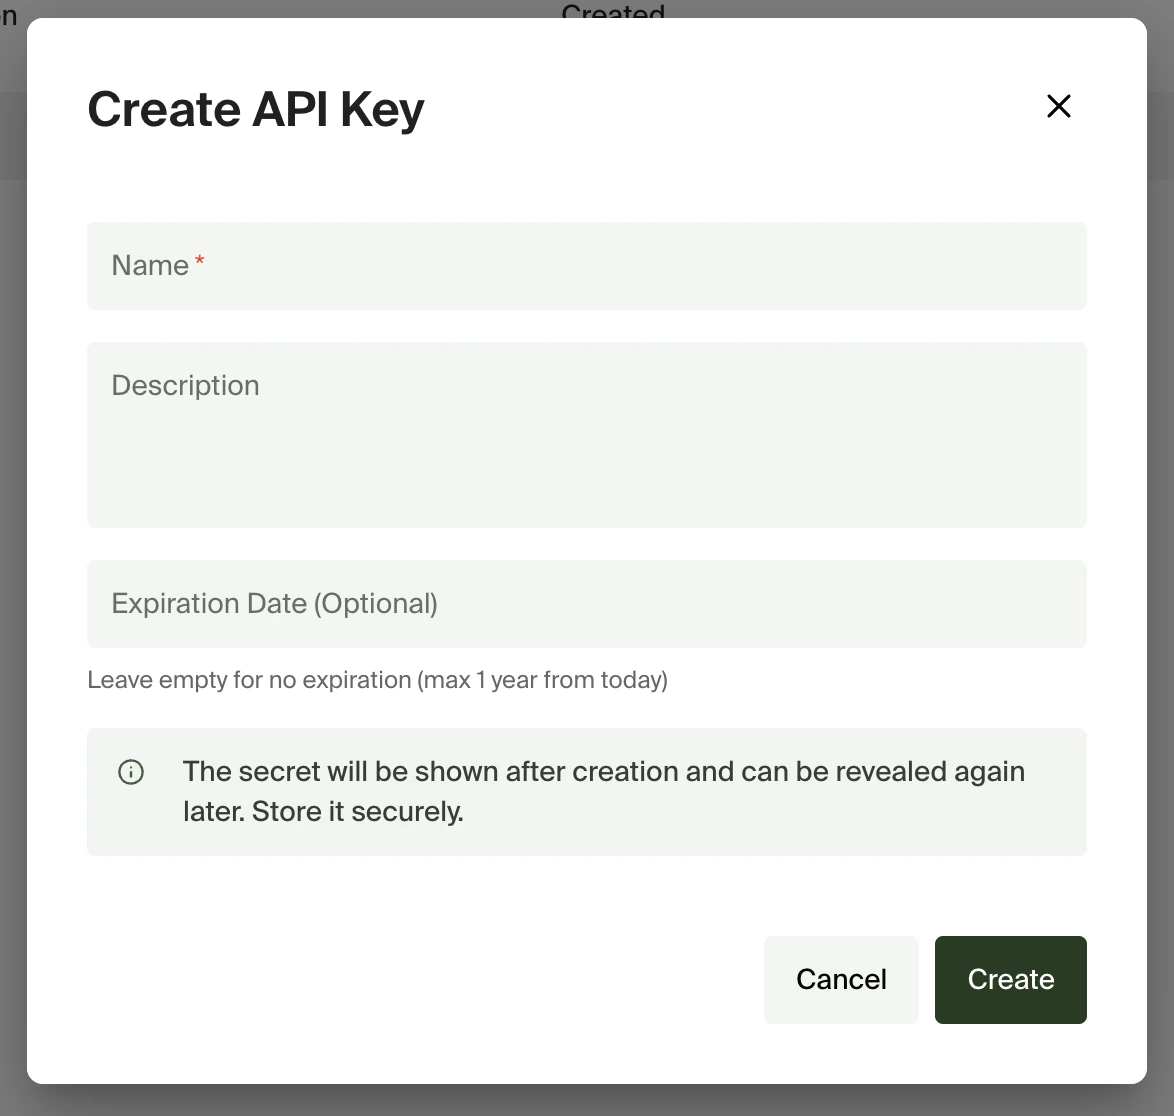
For durable shared automation, create a dedicated service user, assign that user only
the accounts and resources the integration needs, and create the key as that user.
Advertisers
Click Manage advertisers from the dashboard to view and manage advertiser accounts.
Creating an Advertiser
Click + Create advertiser to open the creation form.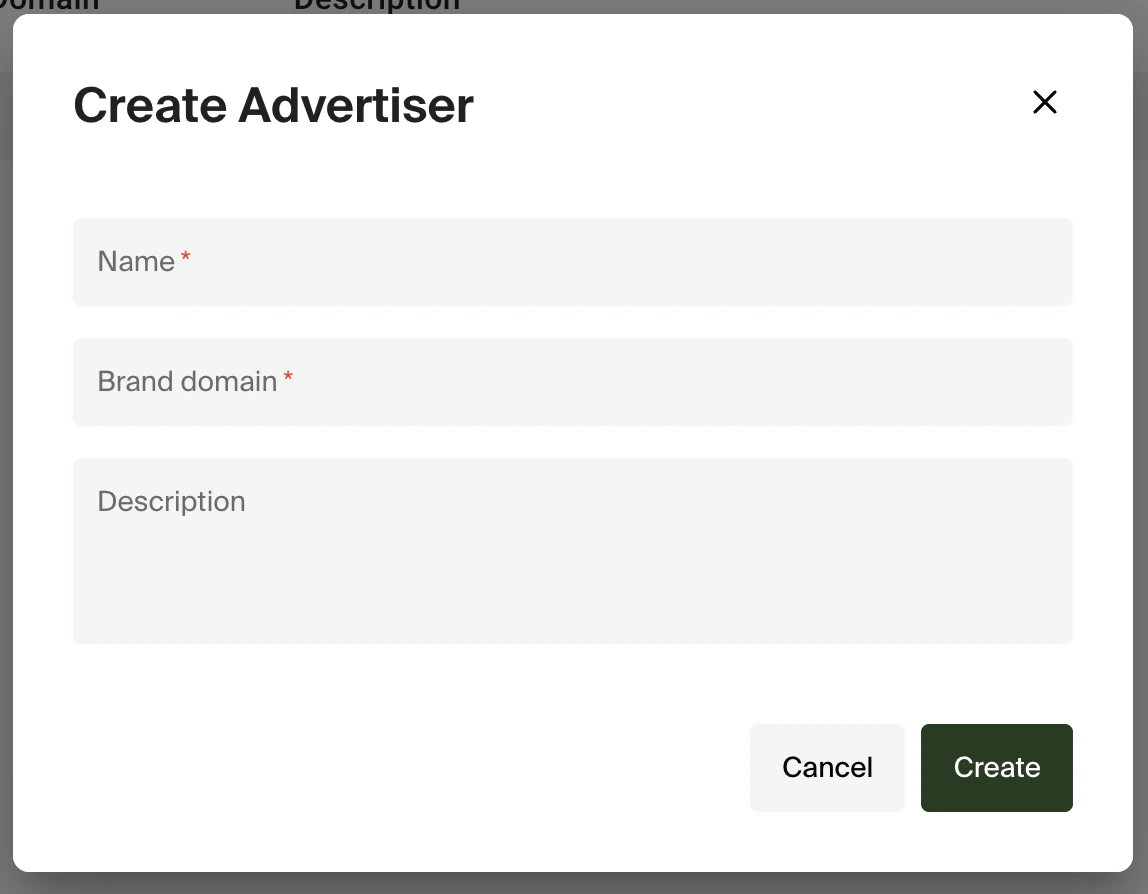
Adding an advertiser in chat
You can also add an advertiser without leaving the chat: ask Murph (for example, “add an advertiser called Acme at acme.com”) or click + Add advertiser on the Advertisers overview. A guided in-chat form opens — pre-filled with anything you already said — capturing the same fields above, resolving the brand for confirmation, and creating the advertiser when you submit. Once it’s created you can switch straight into it or add another.Media Company advertiser setup
In a Media Company account, select Add advertiser from Advertisers or Campaigns to open the same guided form. Sandbox is available to every Media Company and makes no real platform calls or spend. Accounts enrolled for live campaign management can explicitly choose Live; other accounts see Sandbox only. After creation, the roster refreshes before you switch into the new advertiser.Member Management
Click Manage members from the dashboard to view and manage your organization’s members.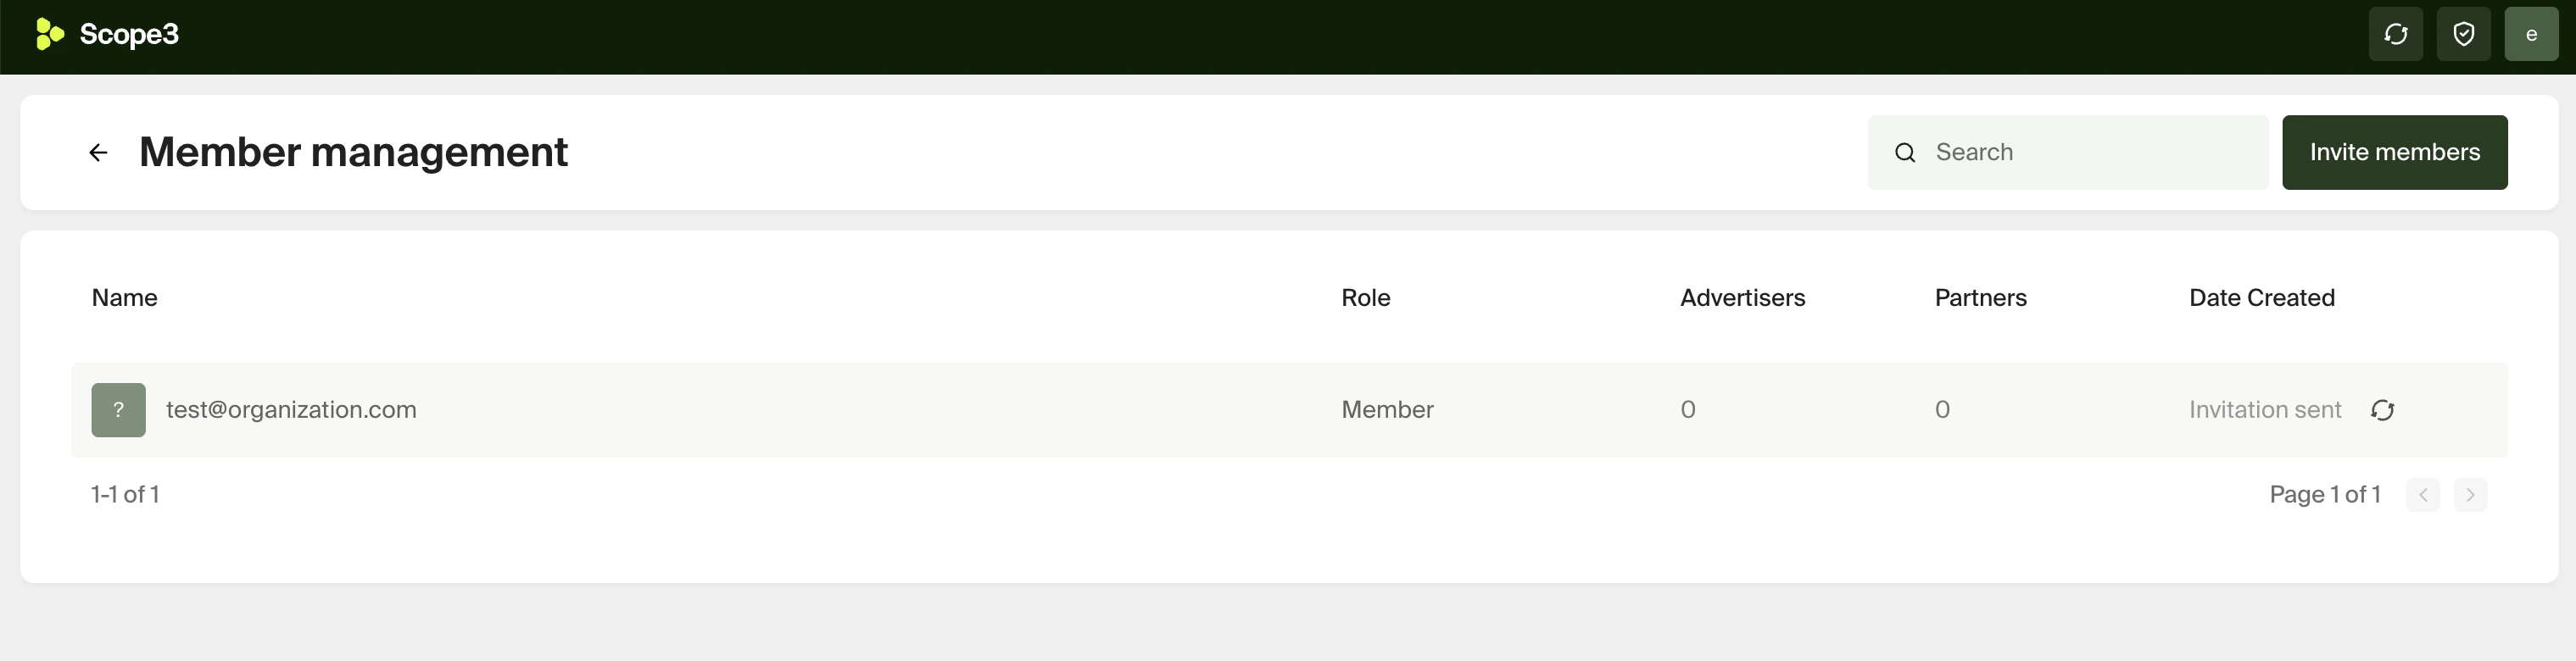
Inviting Members
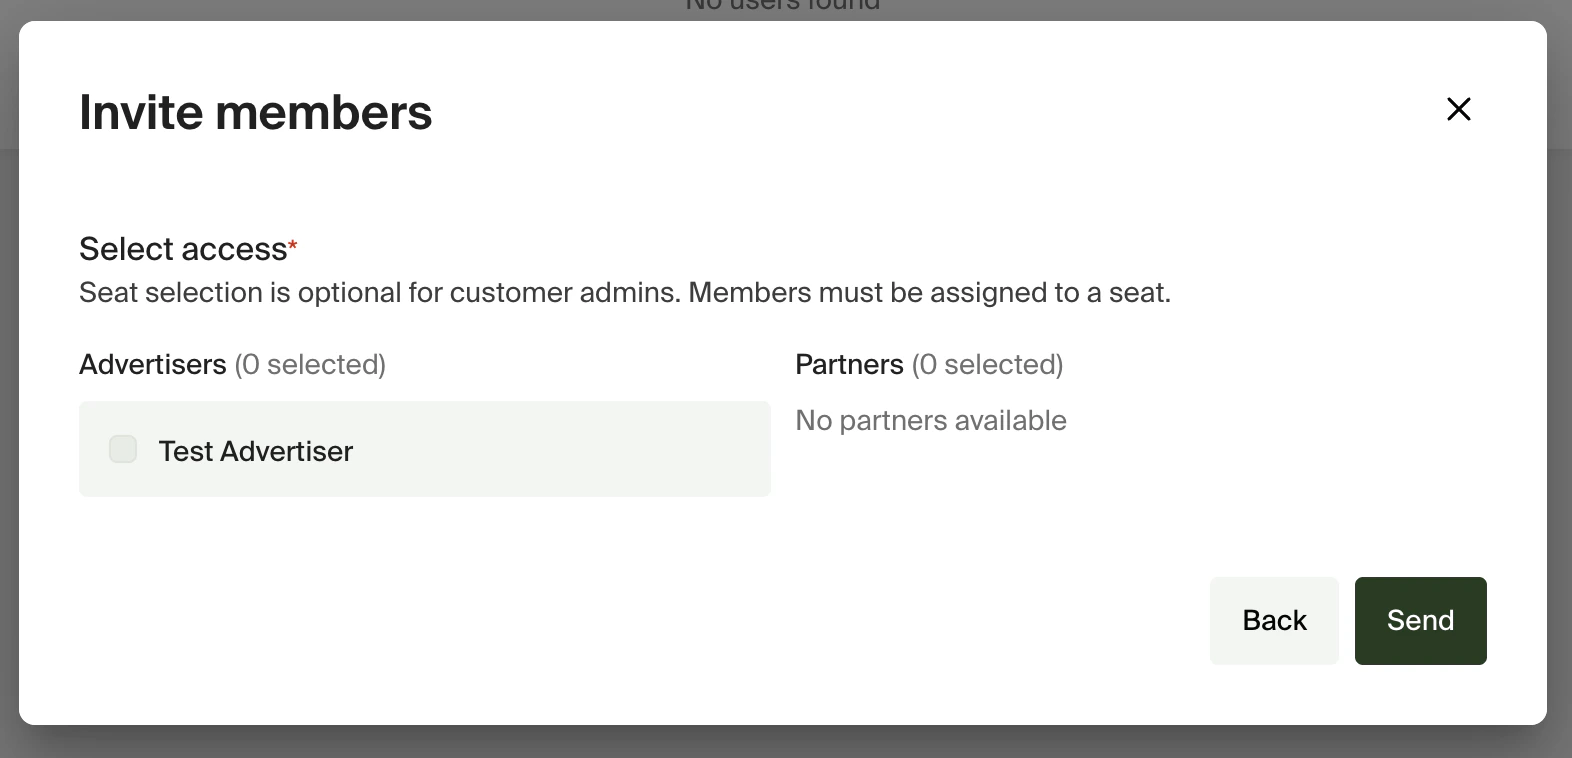
Click Invite members to add new users to your organization. Step 1: Enter email and role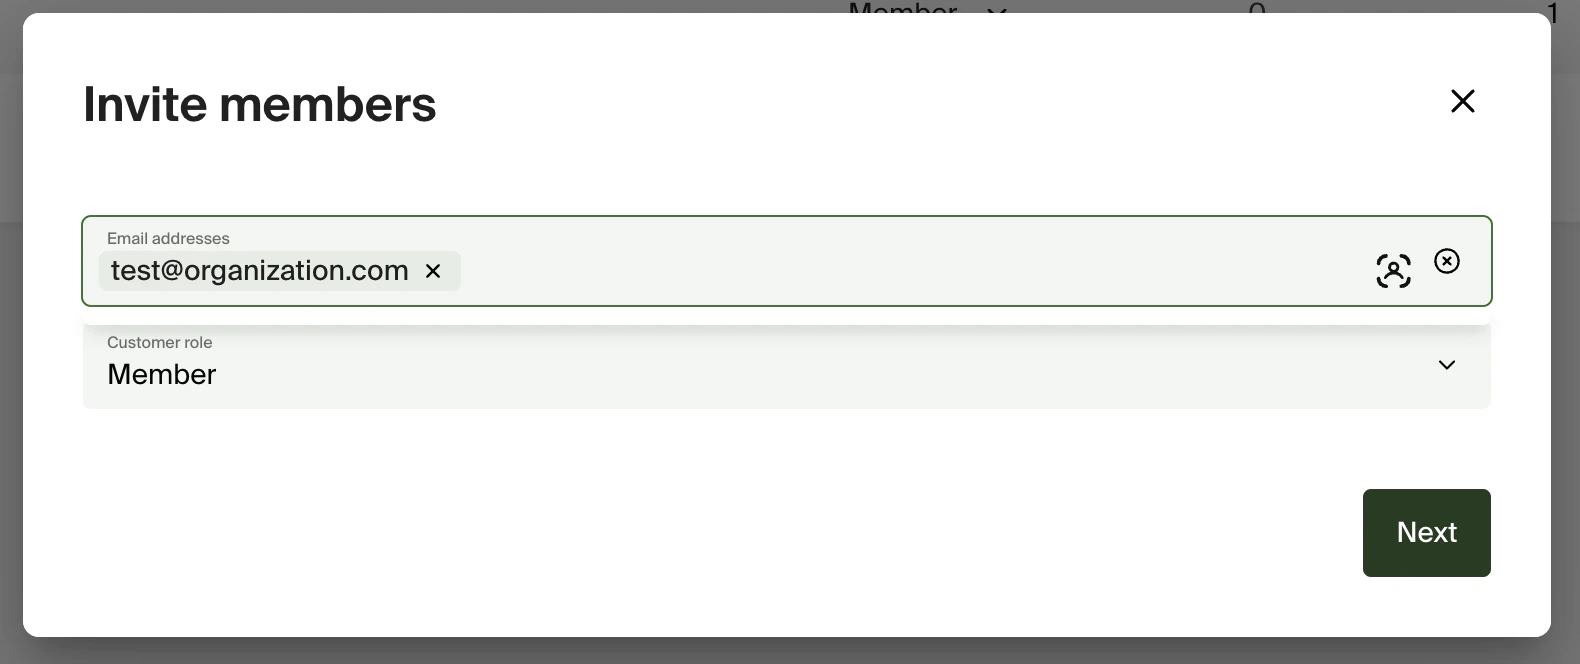
- Enter one or more email addresses
- Select an Access role:
- Admin - Full access to all Advertisers and Partners by default. Advertiser selection in the following step is optional.
- Member - Limited access. You must assign specific Advertisers and Partners in the next step.
Next Steps
Authentication
Learn how to use your API key to authenticate requests
Quick Start
Get started making API calls with your key